Destiny 2, The Journey Quest Guide – Destiny 2’s Halloween Event is finally here, there is a lot of loot to grab, a new dungeon to unlock and the new masks that you can equip. I am specifically after the new auto rifle that has been added to the game.
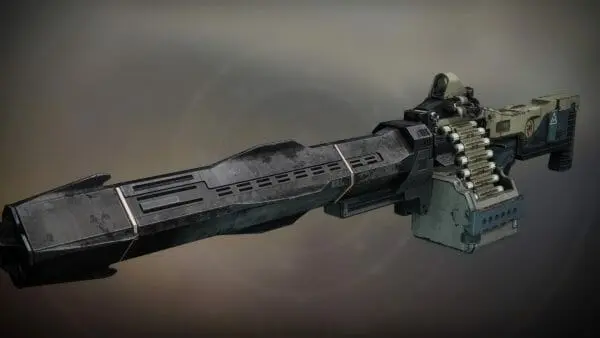
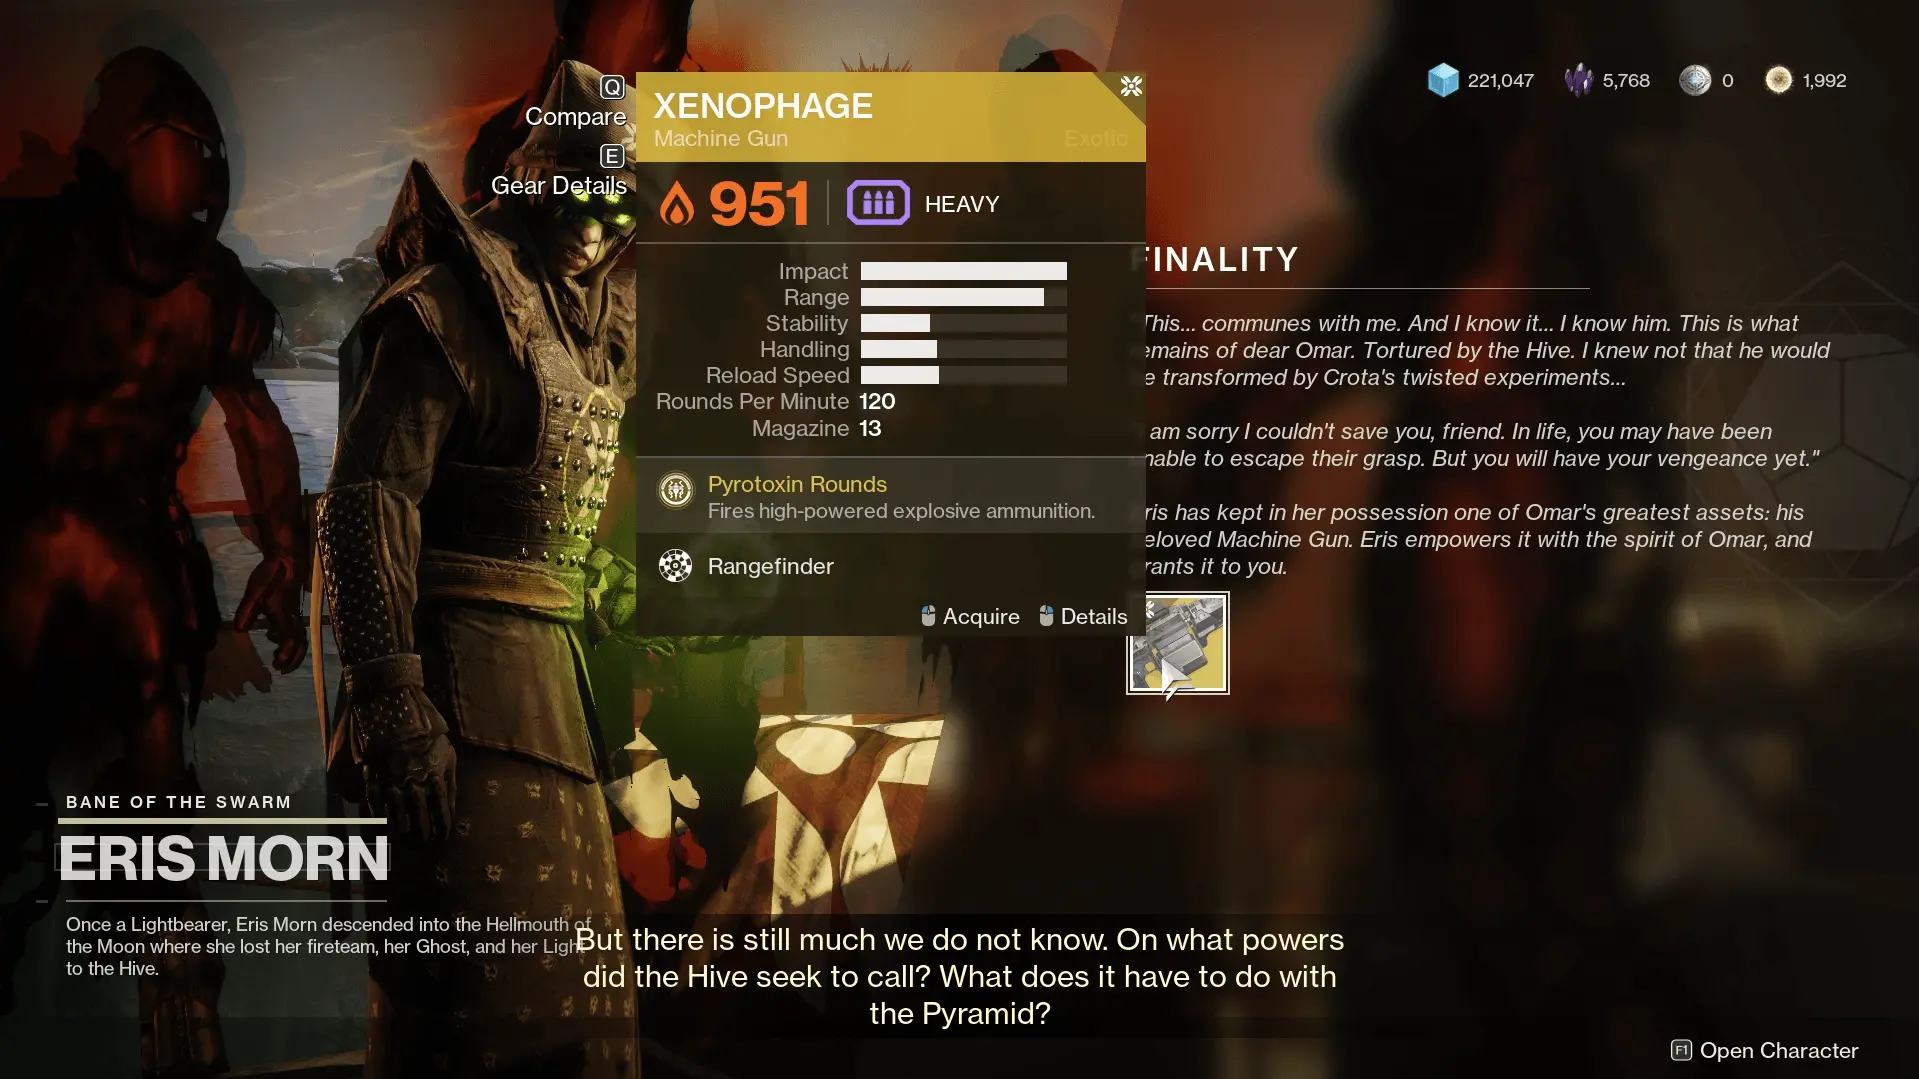
The Journey Quest is the new exotic quest that has been added to the game, this quest will award you with the Xenophage exotic machine gun. In this article, we have covered the steps for everything that you need to know.
Destiny 2: The Journey Quest Guide
To Start The Quest
To start the exotic quest you will have to head to Moon. Once you’re there will be a portal just beside Eris Morn. That should be open for you if have completed the Shadowkeep quest. If not, then you will have to head to the Sorrow Keep area.
Watch the video below to understand this step better.
https://www.youtube.com/watch?v=wTDqtCAqsJs
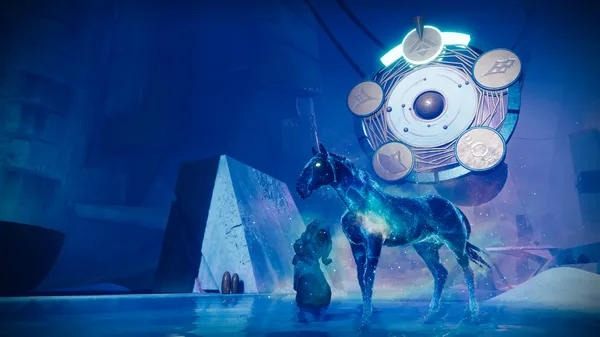
The Journey
Around you…darkness. If you are to discover your path, you must anchor yourself to the light.
This is the first step of the quest and has something to do with the Anchor of Light. I am sure this is connected to unlocking and completing the new dungeon.
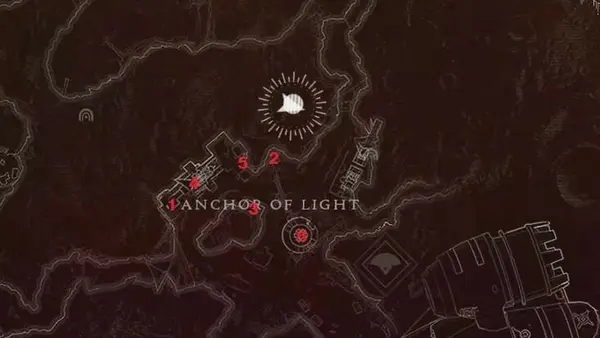
Step 1- Visit The Chamber of Light
After completing the first step, you will have to head to the Anchor of Light. Once you are there, there will be a ball of light somewhere. Pick it up and take it to all ritual plates (this ball will give you a Torch Bearer Buff). The locations where you have to take the balls are marked below.
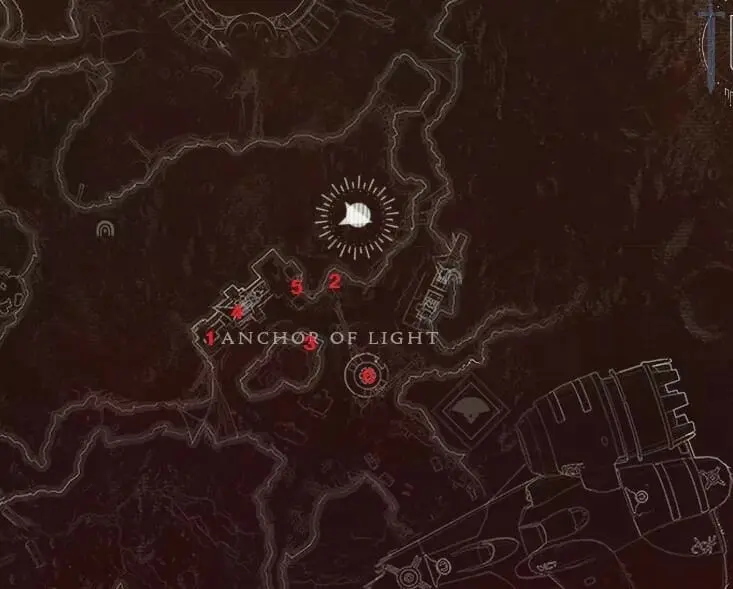
Source: Raidsecrets
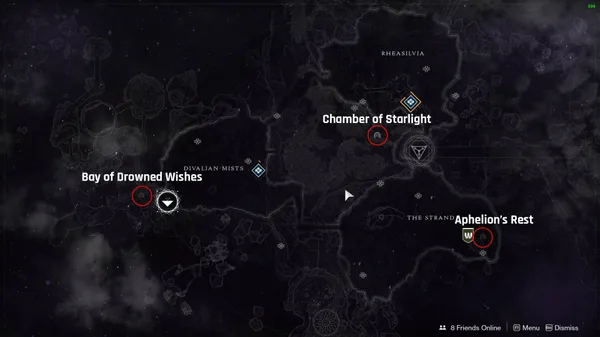
Step 2 - Pathfinder
In this step, you will have to find Path Fragments, four of them. These fragments are located in Archer’s Line, Sorrow’s Harbor, the Hellmouth, and the Anchor of Light. Complete the new puzzles found in each lost sector.
- K1 Communion (Anchor of Light) Solution: Bottom Left, Bottom Right, Top Middle, Top Middle.
- Sorrows Harbour - Revelation: Mid Left, Mid x2, Mid Left, Mid Top, Mid Bottom, Mid, Mid Right
- Hellmouth - Crew Quarters: Top right, Mid left, Mid, Bottom Mid, Bottom Right 2, Bottom Mid 2
- Archers line - Logistics: Top Left, Bottom Left, Mid, Mid Right
Note: All the symbols found inside on the 3x3 plates have to be the same as shown on top.
Step 3 - Path Uncovered
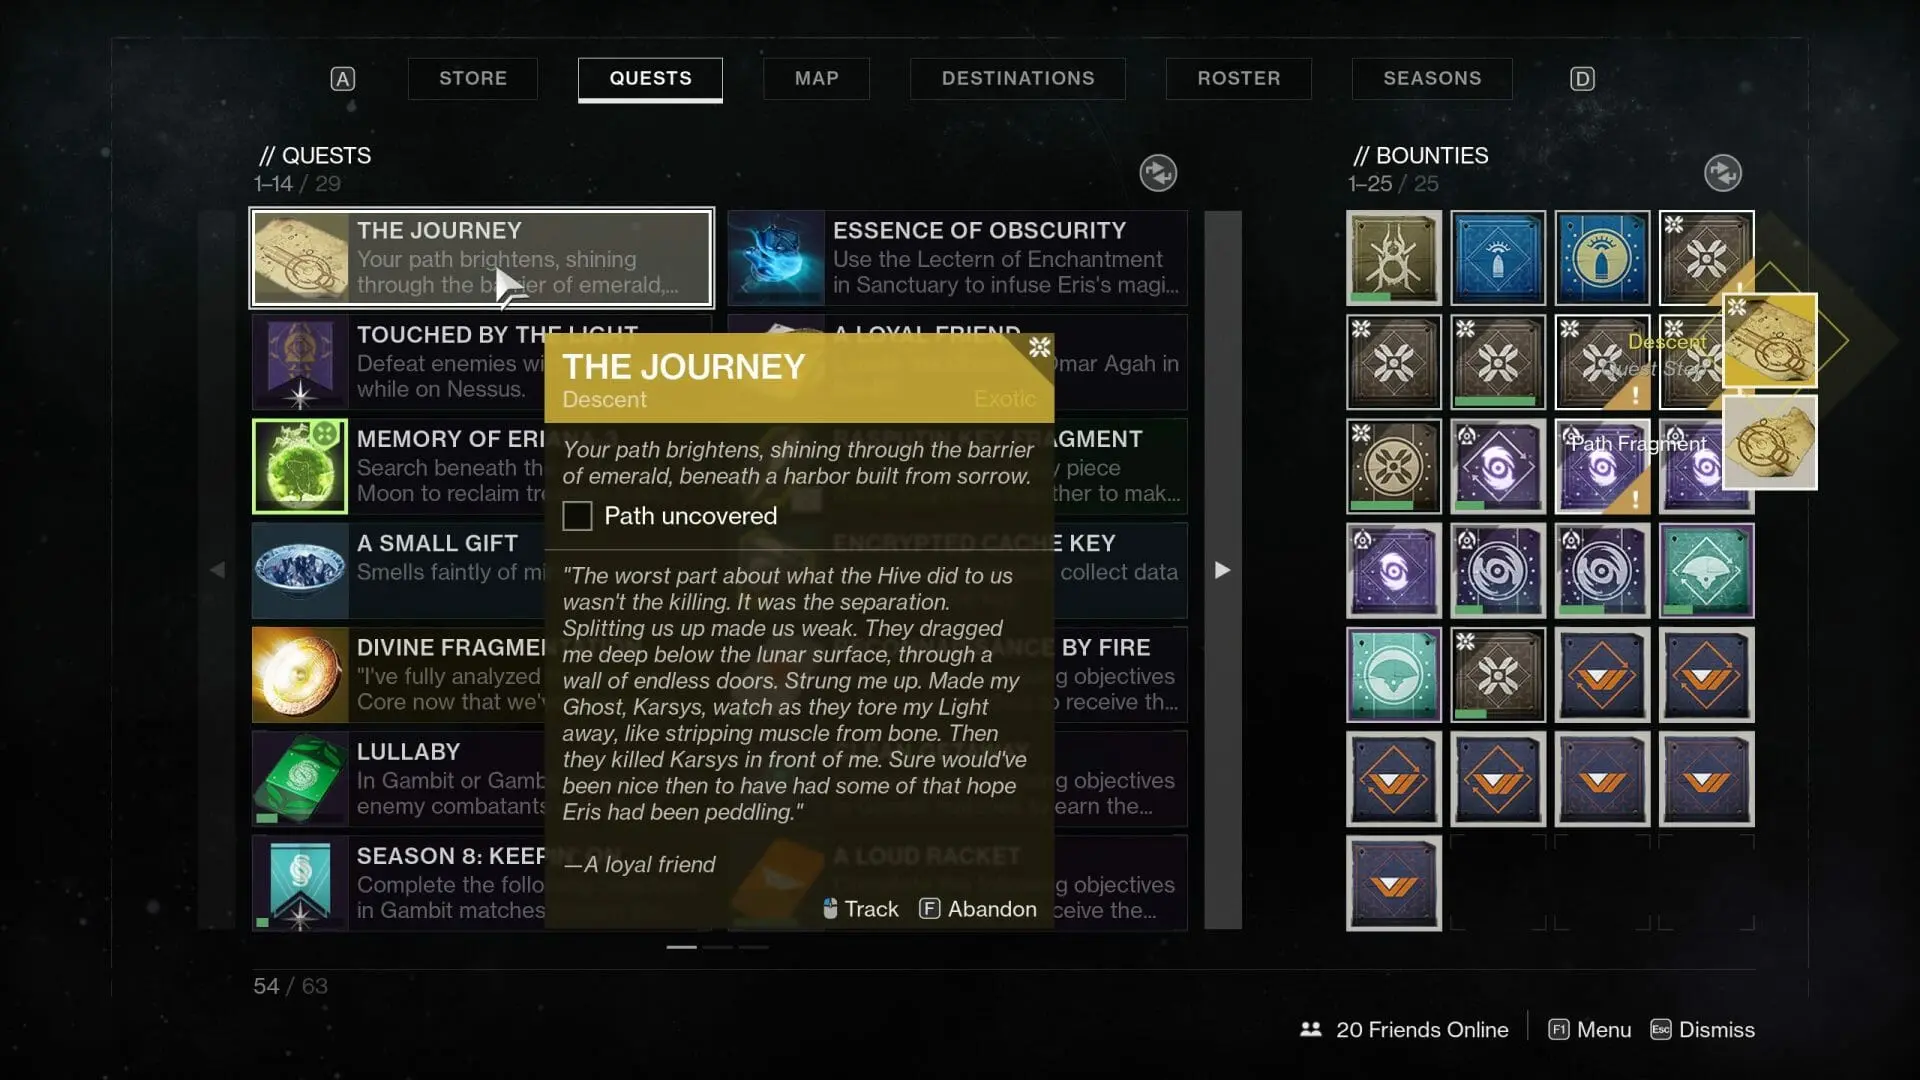
Your path brightens, shining through the barrier of emerald, beneath a harbor built from sorrow.
Once you have solved the puzzles in the lost sectors, you will be awarded the next quest step. Based on the text written on the quest card, the location where we have to go to is somewhere in Sorrow’s Harbor. This is the Dungeon, head to the Dungeon and complete the first encounter, moving past the chest there’s a wall of doors (don’t stand in from of them). Now moving further (3rd level) you will find some high writing on the ground, inside the door there will be a hive symbol, interact with this symbol to get the next quest step.
Update: The quest has been completed. Here’s a video from Houndish that covers all steps for those who find text confusing.
https://www.youtube.com/watch?v=BbAFlUXfacY
Finality: Collecting the Reward
If you have any information about this, do comment below. I am excited and still doing my Dungeon quest.
CATEGORIES: Destiny 2

About the Author
Vikas Bhatt
Gaming and PC troubleshooting writer. Tests fixes, checks settings, and writes step-by-step guides.
Previous Post
Destiny 2 Festival of the Lost - All Loot Guide
Next Post
Destiny 2: Where is the New Moon Dungeon? - Location